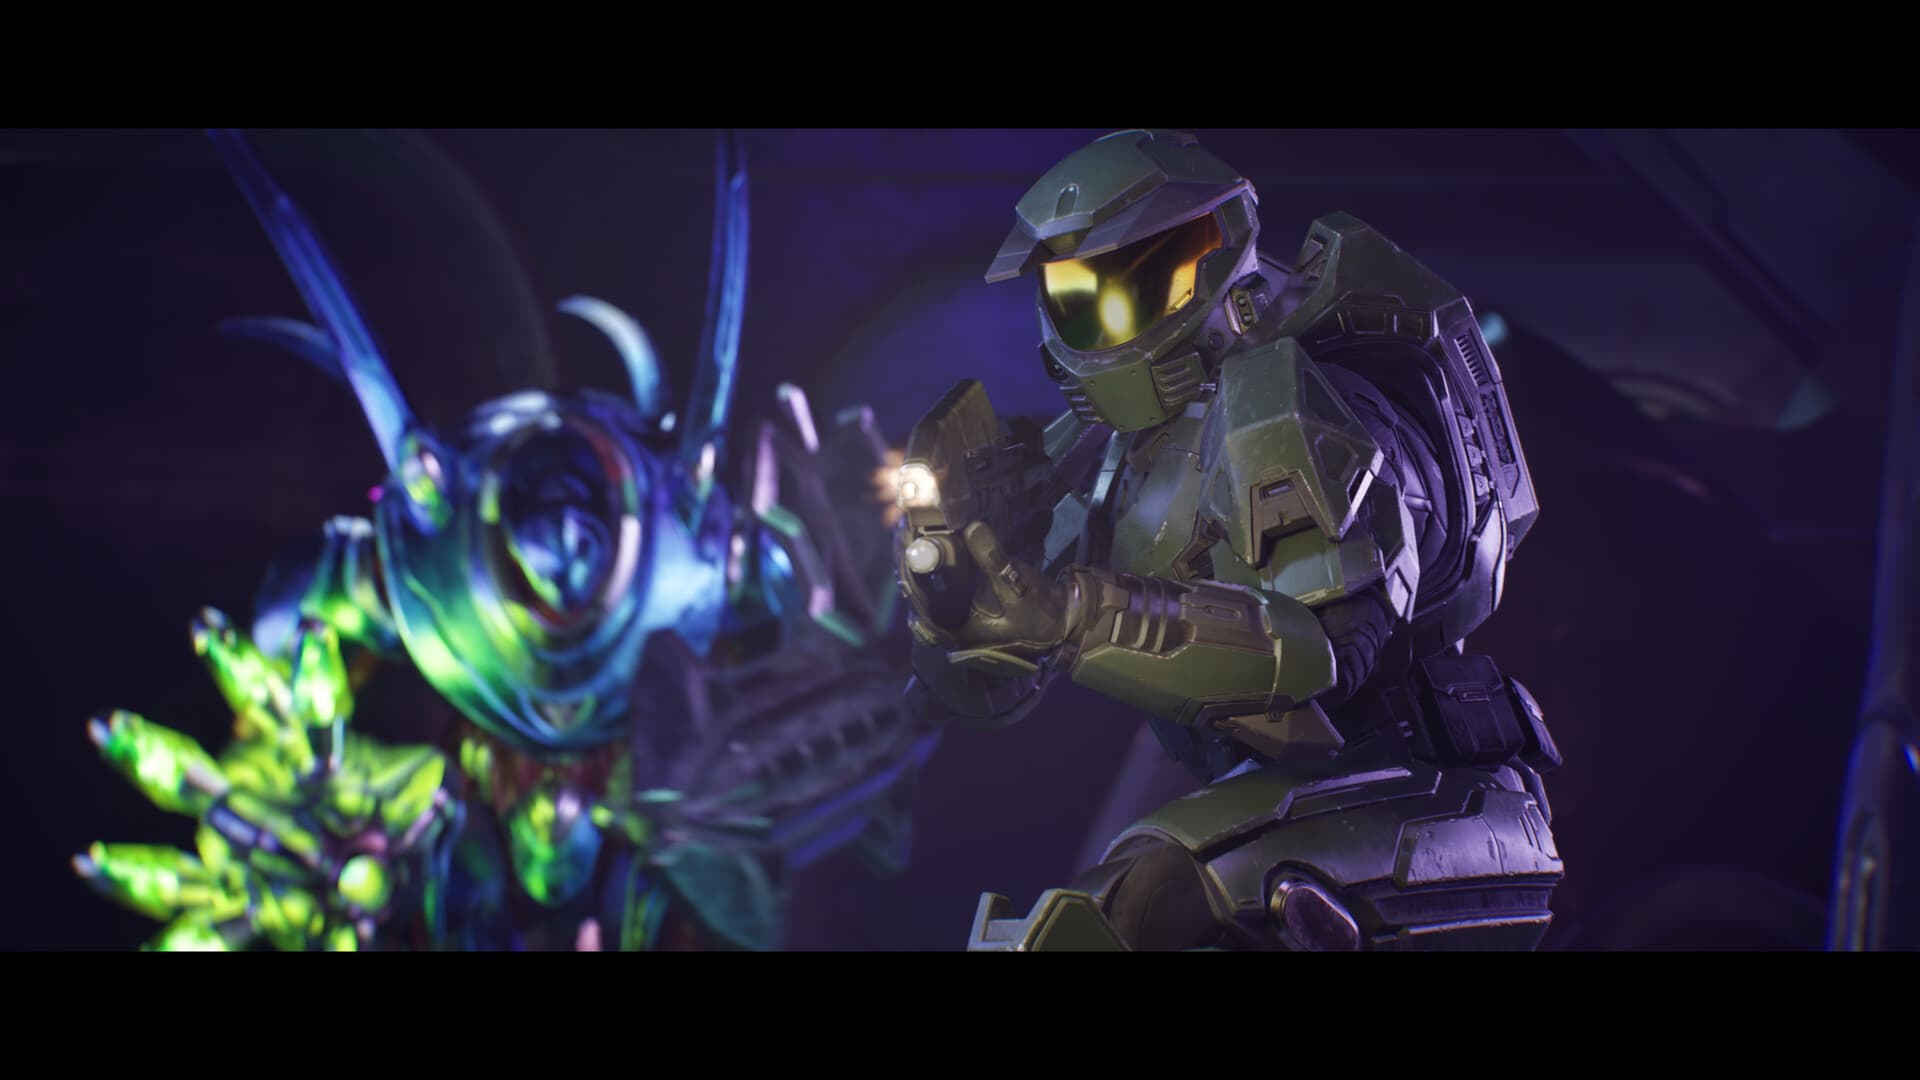
343 Guilty Spark collectible route at a glance
The swamp and containment facility rely on low visibility, repeated rooms, and a reversed escape route. Use the crashed dropship, the unstable marine, and the final surface tower as anchors for the three Skull searches. This is mission 6 of thirteen and part of the Original Campaign. Like every Halo: Campaign Evolved chapter, it contains exactly three discoverable Skulls and one named UNSC Terminal.
Alpha reaches Fog, Bravo starts close to the marine who carries That’s Just… Wrong, and Charlie is the cleanest approach to They Come Back and the late Terminal route. Use mission replay for cleanup, choose the listed Rally Point, and check the mission counter before advancing. The four pickups can be collected across separate runs, so there is no need to force a fragile all-in-one attempt when a timed door or difficult jump fails.
Fog Skull location — Rally Point Alpha
After passing the Covenant dropship lodged in a tree, take the slope on the left and then climb right across the rocks. Search the rock shelf near the tree roots and Flood growth above the fallen trunk. Listen for the Skull audio cue as the route gets close, and scan above and below eye level before committing to the next objective door. Fog changes the campaign by this rule: Removes the motion tracker from the HUD.
After the pickup prompt completes, pause long enough to confirm Fog appears in the mission collectible display. A checkpoint reload before registration can force another trip through this section. When the approach uses a vehicle, narrow ledge, timed door, or unusual jump, make the movement attempt before clearing every distant enemy. That preserves a quick checkpoint recovery and keeps the collectible run focused on a single repeatable action.
That’s Just… Wrong Skull location — Rally Point Bravo
Inside the containment structure, locate the unstable marine who attacks with a Magnum. Defeat him and inspect the item he drops instead of leaving the room immediately. Listen for the Skull audio cue as the route gets close, and scan above and below eye level before committing to the next objective door. That’s Just… Wrong changes the campaign by this rule: Greatly increases enemy awareness of the player.
The Skull is tied to this encounter rather than a fixed pedestal. Confirm the pickup before a checkpoint or room transition removes the dropped object. When the approach uses a vehicle, narrow ledge, timed door, or unusual jump, make the movement attempt before clearing every distant enemy. That preserves a quick checkpoint recovery and keeps the collectible run focused on a single repeatable action.
They Come Back Skull location — Rally Point Charlie
Late in the escape, ride the elevator back to the surface and defend the tower door. Run around the tower’s right side, climb the fallen tree against the ledge, and step onto the rock to the left. Listen for the Skull audio cue as the route gets close, and scan above and below eye level before committing to the next objective door. They Come Back changes the campaign by this rule: Allows dangerous Flood forms to reanimate after defeat.
After the pickup prompt completes, pause long enough to confirm They Come Back appears in the mission collectible display. A checkpoint reload before registration can force another trip through this section. When the approach uses a vehicle, narrow ledge, timed door, or unusual jump, make the movement attempt before clearing every distant enemy. That preserves a quick checkpoint recovery and keeps the collectible run focused on a single repeatable action.
Tangent II Terminal location — Rally Point Charlie
During the escape, re-enter one of the repeated interior rooms and check the door opposite the route used on the way in. That door is now open, revealing a small side room with the Terminal. Terminals use the standard interact command: X on Xbox, Square on PlayStation, or E with the default keyboard layout. Hold position until the interaction completes and the collectible notification appears.
The Tangent II entry is the single Terminal assigned to 343 Guilty Spark. Finding it contributes to Lore Have Mercy and Collector’s Addition, while collecting all three local Skulls and this Terminal completes the mission’s four-item sweep. If the prompt does not appear, move around the face of the device instead of reloading immediately.
Confirm the clean sweep before leaving
Open the campaign collectible display and verify that 343 Guilty Spark shows three of three Skulls and one of one Terminal. The expected names are Fog, That’s Just… Wrong, They Come Back, and Tangent II. A global total can hide a local gap, so the mission counter is the reliable completion check.
The browser tracker keeps these four checks together and saves them only on the current device. Mark an item after the game confirms it, not when Master Chief merely reaches the room. For co-op, regroup before a checkpoint and ask every player to verify the notification; shared combat progress does not always make a missed interact prompt obvious.